U12 Football Training Drills You Can Measure
Key takeaways
- Design U12 drills around three KPIs: touches, weak-foot contacts, sprints.
- Use a 60–75 minute session structure with warm-up, technical, and game phases.
- Foot-worn sensors give objective counts without manual tallying.
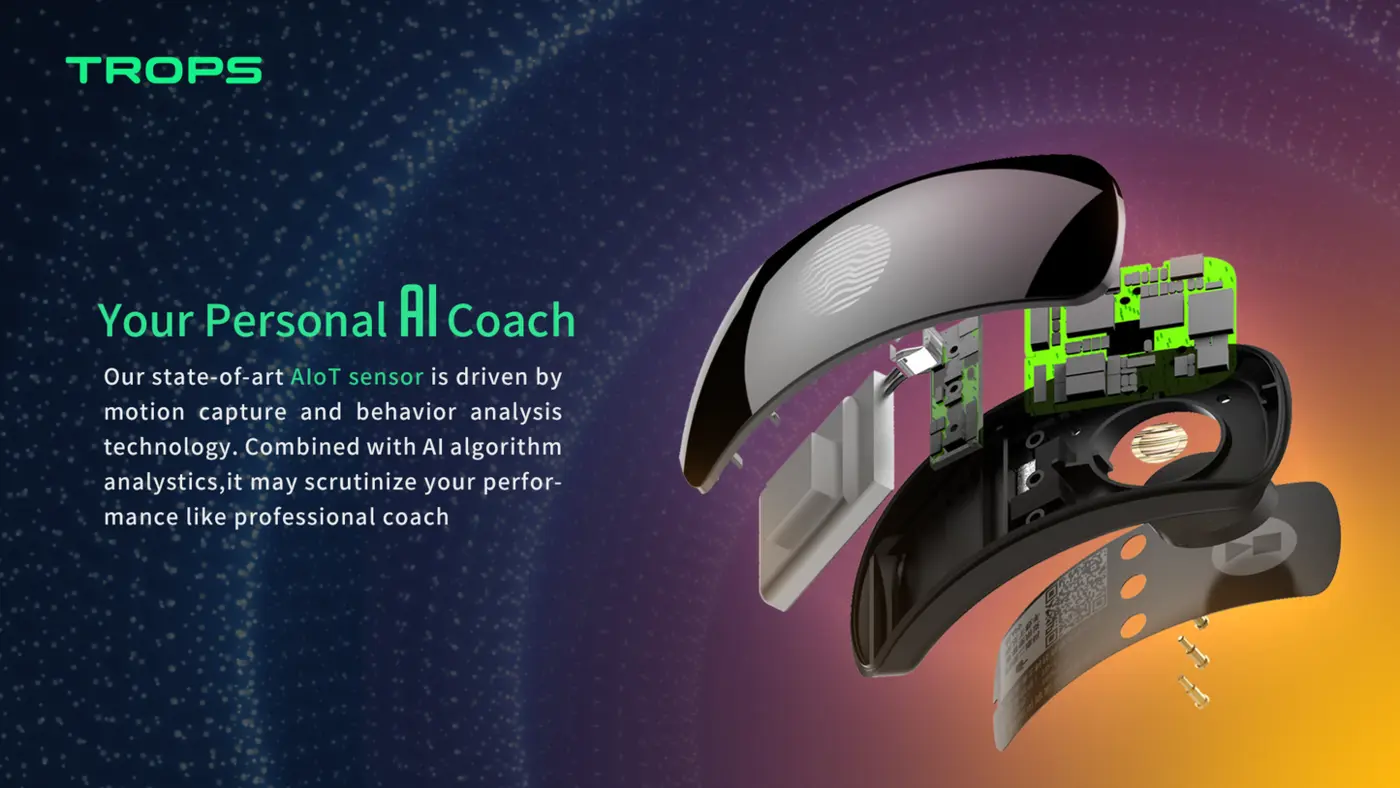
Coaching U12 players means balancing fun, technical development, and the practical reality of limited session time. Measurable drills help you see whether your session plan is actually delivering the touches, weak-foot work, and movement patterns you intended. This guide outlines practical u12 football training drills you can run in a 60–75 minute session, with clear KPIs for each block.
Why measure U12 training at all?
At U12, players are building technical habits that will follow them into later age groups. Coaches often rely on observation, but observation misses patterns across a squad. Simple metrics — ball touches, weak-foot contacts, sprint counts — give you a shared language with parents, academy directors, and school sports leads. They also help you adjust drills week to week rather than guessing.
For a broader view of how youth programmes use tracking, see our youth football training resources and the guide to GPS tracking in youth football development.
Session structure: 60–75 minutes
A simple four-block structure works well for U12 squads and keeps data collection manageable.
- Warm-up with ball (10–15 minutes): movement prep plus ball familiarity.
- Technical drill (15–20 minutes): focused repetition on one skill.
- Small-sided game (15–20 minutes): applied decision-making.
- Cool-down and review (10 minutes): light movement and a short coach talk.
Assign one KPI per block. For example, warm-up measures touches, technical drill measures weak-foot contacts, small-sided game measures sprints, and cool-down is unmeasured. This keeps reports readable and gives players a single focus.
Drill 1: Ball-mastery square (touches)
Setup
Mark a 10x10 metre square for every six to eight players. Each player has a ball. On the coach's command, players perform a sequence: inside touches, sole rolls, and step-overs.
KPI
Total ball touches per player. With a foot-worn sensor such as the RunSports Tracker S1, touches are counted automatically, so coaches can focus on technique rather than tallying.
Coaching points
- Keep the ball close; head up between touches.
- Alternate feet where possible.
- Progress by adding a passive defender after the first set.
Drill 2: Weak-foot passing gates (weak-foot contacts)
Setup
Set up four gates using cones across a 20x15 metre area. Players work in pairs, passing through gates with their weaker foot only. Rotate partners every two minutes.
KPI
Weak-foot contacts and left/right foot balance. The sensor identifies which foot strikes the ball, so you can see whether a player is genuinely using the weaker side or drifting back to the stronger foot.
Coaching points
- Focus on placement, not power.
- Encourage a first touch that sets up the weaker foot.
- Keep group sizes small so contacts stay high.
Drill 3: Sprint relay with ball (sprints and top speed)
Setup
Create two lanes 15–20 metres long. Players dribble to the end cone, leave the ball, sprint back, and tag the next player. Repeat in sets of four to six.
KPI
Sprint count and top speed. These are useful load-awareness indicators, especially when sessions are scheduled close together. For more on interpreting sprint data, see our guide to sprint data in coaching speed sessions.
Coaching points
- Full recovery between sets.
- Keep the ball under control on the dribble portion.
- Stop the drill if technique drops noticeably.
Drill 4: Small-sided game with a weak-foot rule (applied touches)
Setup
Play 4v4 or 5v5 in a 30x20 metre area. Award a bonus goal if the scoring team used a weak-foot pass in the build-up.
KPI
Touches, weak-foot contacts, and accelerations/decelerations. The game phase gives you a realistic picture of how players apply technical work under pressure.
Coaching points
- Let the game flow; coach in natural stoppages.
- Rotate positions so all players experience different roles.
- Review the data after the session, not during it.
Turning drill data into weekly decisions
Measurement only helps if it changes what you do next. After each session, review per-player and per-team reports in the RunSports Team Platform. Look for three things: players with consistently low weak-foot contacts, players whose sprint counts spike relative to their own baseline, and drills where touch counts fell short of your target.
Training load awareness matters here. Sudden increases in sprint volume or accelerations are worth discussing with qualified staff, especially when sessions are close together. Our article on training load monitoring covers the principles without making medical claims.
Choosing hardware for measurable drills
Foot-worn sensors are practical for U12 because they do not require vests or cameras. The RunSports Tracker S1 weighs 12 g, measures 40x32x14 mm, and is worn on the sock or shin guard. It uses a 6-axis IMU at 1000 Hz, a 200 mAh battery rated up to 8 hours per charge, magnetic USB charging (full in 1.5 hours), Bluetooth 5.0, and IP67 waterproofing. It works with iOS 12+ and Android 8+.
For academies and schools, the RunSports Academy Bundle combines sensors, the team platform, and onboarding for squads of 10 to 100+ players. Distributors can start with sample orders from 10 units; OEM orders from 100 units include custom colour, logo, packaging, app branding, and firmware tuning. Our supplier MOQ and OEM guide explains the process.
Keeping U12 sessions player-first
Data should support coaching, not replace it. Keep instructions short, rotate drills often, and let players play. Use metrics to answer specific questions — did the weak-foot drill actually increase weak-foot contacts? — rather than to rank children. For more on building a data-informed programme, see our guide to data-driven training programmes.
Next step
If you are planning measurable U12 sessions for an academy, school, or club, or exploring distribution, our team can help you scope a pilot. Visit the RunSports contact page to discuss sensor quantities, platform access, and onboarding.
Recommended for your program
Frequently asked questions
What are the best U12 football training drills to measure?
Drills that produce countable actions work best: rondo and ball-mastery squares for touches, weak-foot passing gates for left/right balance, and sprint relays for acceleration data. These give coaches clear KPIs without complex setup.
How many touches should a U12 player get in a training session?
There is no universal target, but coaches can set session goals based on squad level and phase of season. Use baseline data from the first two weeks, then aim for gradual increases in ball touches per player rather than fixed numbers.
Can foot-worn sensors measure weak-foot contacts in youth drills?
Yes. Foot-worn sensors such as the RunSports Tracker S1 identify left and right foot contacts separately, so coaches can see weak-foot involvement in passing and dribbling drills without manual counting.
How do I structure a 60–75 minute U12 session with measurable drills?
Use four blocks: 10–15 minutes warm-up with ball, 15–20 minutes technical drill, 15–20 minutes small-sided game, and 10 minutes cool-down. Assign one KPI per block so data stays readable and actionable.
Need help choosing the right equipment?
Talk to Our Export TeamRelated Reading
Football Tracker for Kids: Parent & Coach Guide
A practical guide for parents, coaches and buyers on choosing a football tracker for kids aged U8–U12, covering fit, weight, safety and meaningful data.
Read →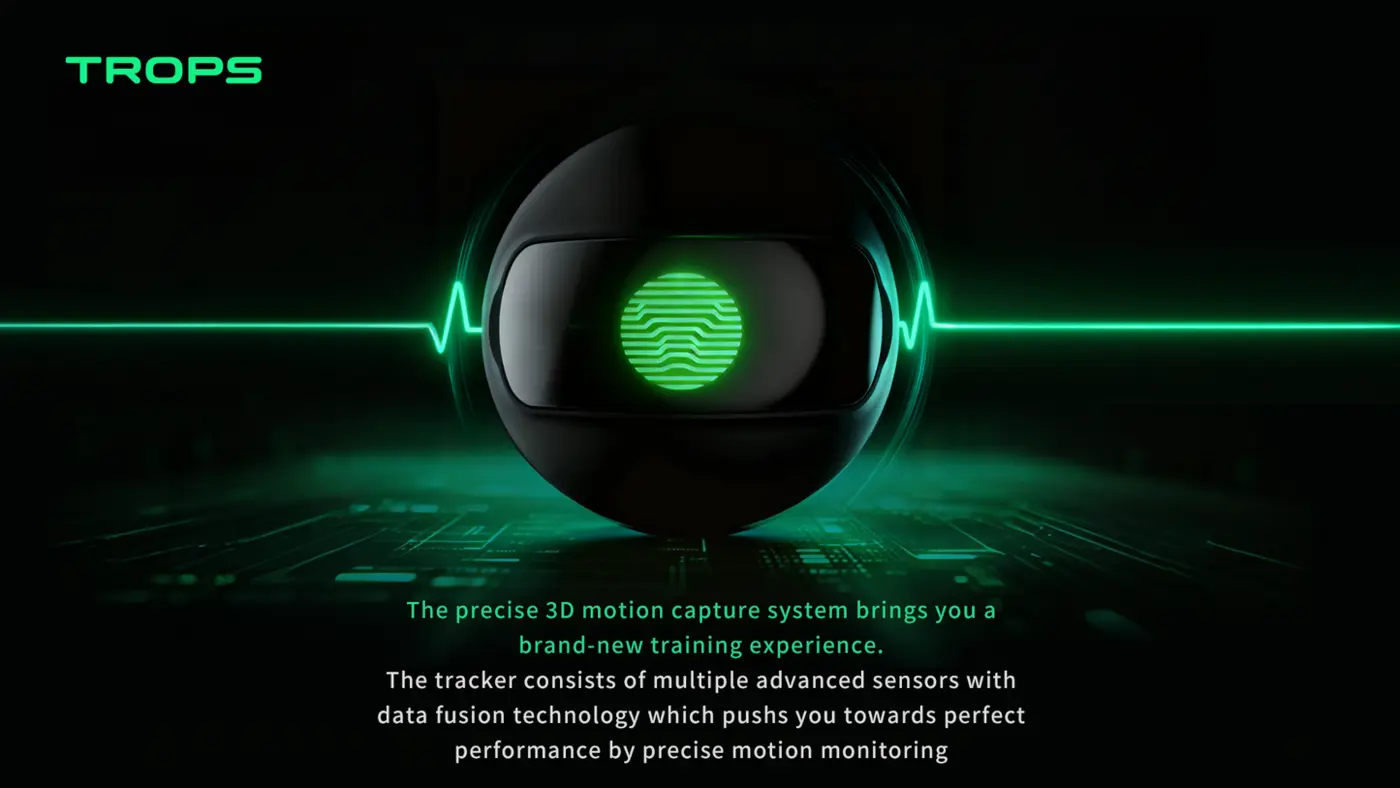
What Is a Soccer Foot Tracker and How Does It Improve Youth Training?
A practical guide to soccer foot trackers: how IMU sensors measure shots, sprints and foot balance, and how academies use the data in daily training.
Read →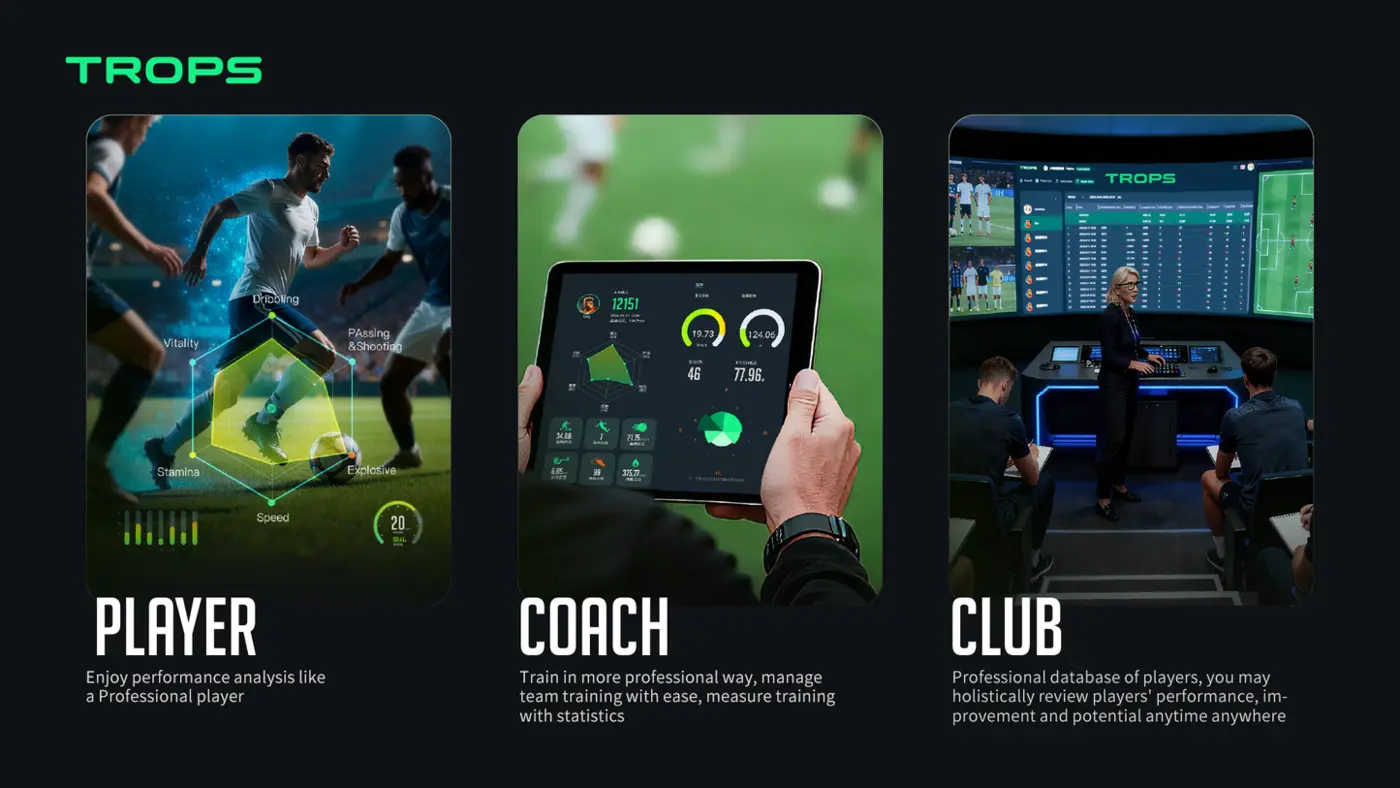
How Wearable Sensors Help Football Academies Develop Players Faster
How football academies use wearable sensors to give objective technical feedback, manage load and fatigue, communicate with parents, and scale player development across squads.
Read →